Two-Factor Authentication (2FA) using Google Authenticator provides an added layer of security for SSH connections on Red Hat, CentOS, and Ubuntu systems. Follow this step-by-step guide to install and configure Google Authenticator:
Step 1: Install and Configure Google Authenticator
-
Log in to your server and install Google Authenticator using the package manager specific to your distribution:
- For Ubuntu:
sudo apt install libpam-google-authenticator - For Red Hat and CentOS:
sudo yum install google-authenticator
If the command fails, install
epel-releaseand try again. - For Ubuntu:
-
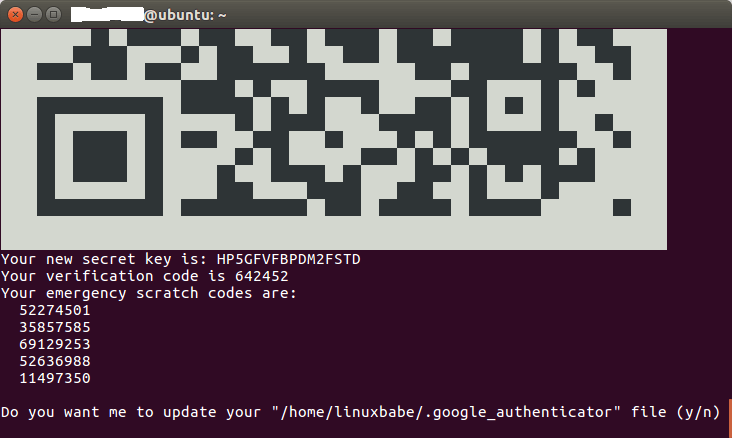
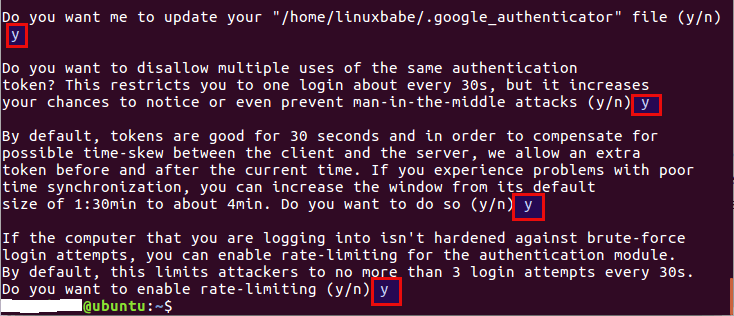
Generate a new secret key by running the
google-authenticatorcommand in your home directory. Select “y” when prompted for time-based authentication tokens.
-
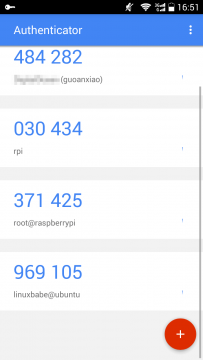
Install the Google Authenticator app from the Google Play Store or Apple App Store on your mobile phone. Scan the displayed QR code using the app to associate your SSH server with the app.
-
Take note of the secret key, verification code, and emergency scratch code displayed in the terminal. Store this information securely for future use.
Step 2: Configure SSH Daemon to Use Google Authenticator
-
Open the SSH server configuration file using a text editor:
- For Ubuntu:
sudo nano /etc/ssh/sshd_config - For Red Hat and CentOS:
sudo nano /etc/ssh/sshd_config
- For Ubuntu:
-
Locate the following lines and ensure they are set to “yes”:
UsePAM yes ChallengeResponseAuthentication yes -
Save and close the file. Restart the SSH daemon to apply the changes:
- For Ubuntu:
sudo systemctl restart ssh - For Red Hat and CentOS:
sudo systemctl restart sshd
- For Ubuntu:
-
Edit the PAM rule file for the SSH daemon:
sudo nano /etc/pam.d/sshd -
Add the following entry at the end of the file:
auth required pam_google_authenticator.so -
Save and close the file. The SSH daemon will now utilize Google Authenticator.
Step 3: Test Your SSH Two-Factor Authentication
- Open a new terminal window and attempt to log into your SSH server. You will be prompted to enter both your user password and the one-time password generated by the Google Authenticator app.
Note: Each user on your Red Hat, CentOS, or Ubuntu server needs to run the google-authenticator command and scan the QR code to enable two-factor authentication.
By following these steps, you have successfully set up Google Authenticator for Two-Factor Authentication (2FA) on your Red Hat, CentOS, and Ubuntu systems, enhancing the security of your SSH connections.